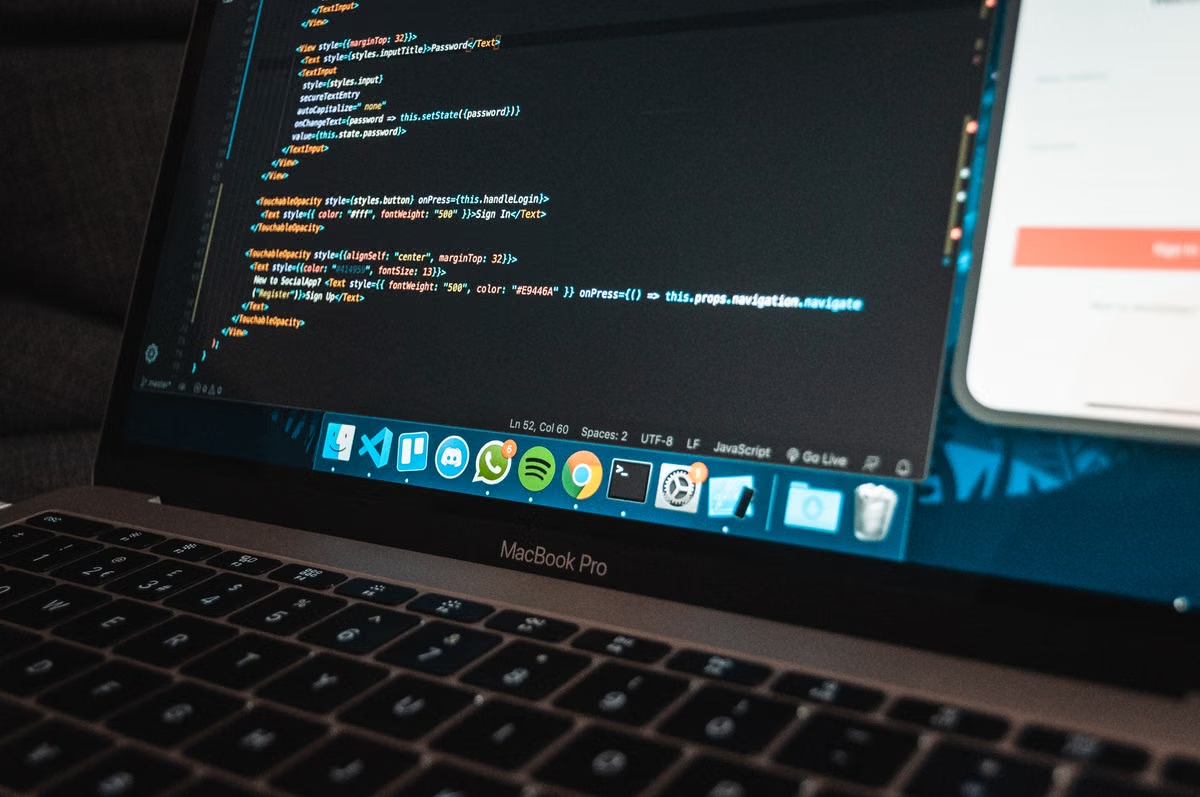
Your Windows project opens correctly, but the macOS build fails when Xcode, native plugins, signing, or graphics validation enters the workflow.
The fastest solution is to use Mac Remote Development Tools to connect Windows to a real Mac. Keep editing and project management on Windows, but leave the macOS SDK, Xcode build, signing, and final validation on the remote Mac. This is not a no-Mac solution. For graphics debugging, performance checks, or Apple platform device testing, use a remote Mac plus a local device or a dedicated test node.
This guide is for:
- Windows-first macOS game developers deciding which work belongs on each machine.
- Build engineers creating repeatable Mac builds, signing, and artifact delivery.
- DevOps and platform owners evaluating remote Mac access, permissions, network paths, and CI runners.
Responsibility split
Mac Remote Development Tools solve a connection problem. They do not replace the Mac execution environment.
Your Windows workstation is normally the better place for source editing, asset preparation, project management, code review, and general scripting. The remote Mac is responsible for the tasks that depend on macOS or Xcode:
- macOS SDK selection.
- Xcode project generation and compilation.
- Apple platform code signing.
- Packaging and notarization preparation.
- macOS runtime checks.
- Command-line build automation.
- Access to Mac-only native dependencies.
Apple’s official guide confirms that remote development from a Windows PC still depends on a remote Mac with the required macOS and Xcode environment. Review the official remote macOS game build documentation before selecting tool versions or designing your connection flow.
A successful connection proves only that the development tool can reach the Mac. It does not prove that the project can compile, that native plugins support the target architecture, or that the signing chain is ready.
Decision conditions
Use this split when:
- Your project can be edited and generated on Windows, but its final build requires Xcode.
- You need a real macOS SDK rather than a simulated or virtual environment.
- You can keep signing credentials on the Mac instead of copying them into the Windows workspace.
- You can accept separate validation for graphics, audio, input, hardware, and device behavior.
Fall back to a local Mac or a dedicated test node when:
- The project depends on a physical Apple platform device during every test cycle.
- The graphics debugger requires local GPU capture or a specific hardware path.
- Your remote connection cannot provide reliable interactive access.
- The build requires physical interfaces, special controllers, or local audio hardware.
- You need several developers to debug the same running session at once.
Readiness checks
Do not begin by installing every tool on both machines. First identify the build boundary.
Inspect the game project and record:
- The engine and project generator used by the team.
- Native plugins and third-party libraries.
- The target macOS architecture.
- The method used to generate the Xcode project.
- Required SDKs and deployment targets.
- Whether the build is interactive or unattended.
- Whether signing and notarization are part of the first build or a later release stage.
The remote Mac needs a login account, stable network access, Xcode, and the command-line tools required by the project. Apple’s Xcode system requirements are the authority for supported macOS and Xcode combinations. Do not infer compatibility from the fact that the Mac is online.
The command-line layer also needs explicit verification. Use Apple’s Xcode command-line tool reference to confirm the supported command behavior instead of copying commands from an unrelated project.
Keep credentials separate by function:
- A normal development account for interactive debugging.
- A restricted build account for CI.
- A signing identity stored only on the Mac or in an approved secret system.
- A source-control token limited to the required repository and operations.
- A separate artifact destination with write-only or upload-only permissions when possible.
Do not expose the remote Mac administrator password to the Windows development workstation. Root access may be necessary for machine administration, but it should not be the default permission for a project build.
03A remote Mac that accepts a login is not yet a build node. Treat connection, toolchain, project, signing, and release validation as separate acceptance gates.
Connection setup
Start with a minimal connection rather than the full game project.
Use placeholders for every machine-specific value:
Remote host: <REMOTE_MAC_HOST>
Mac account: <BUILD_USER>
Project path: <REMOTE_PROJECT_PATH>
Windows workspace: <WINDOWS_WORKSPACE>
Artifact path: <ARTIFACT_PATH>
Follow this sequence:
- Install the required Mac Remote Development Tools on Windows.
- Select or enter
<REMOTE_MAC_HOST>. - Authenticate as
<BUILD_USER>. - Confirm that the development tool can access the remote Mac.
- Check the selected Xcode installation.
- Create or open a small test project.
- Run one unsigned or non-release build.
- Save the connection log and command output.
The first test should answer one question: is the failure in the connection layer, toolchain layer, or project layer?
For example, a failed host lookup belongs to the connection layer. A missing xcodebuild command belongs to the toolchain layer. A compiler error in a native plugin belongs to the project layer. Keeping these categories separate prevents a network repair from being mistaken for a compatibility fix.
Can Windows build a macOS game through Mac Remote Development Tools?
Yes, if the actual build runs on a correctly configured real Mac. Windows can initiate the workflow, edit source files, and send project data. The remote Mac still performs the Xcode and macOS SDK work. A Windows-only build environment does not satisfy that requirement.
04Project transfer
Choose the transfer method based on the type of work.
A shared directory is convenient for interactive editing, but it can expose file-locking, timestamp, permission, and latency problems. It is useful for small changes and debugging, not automatically suitable for repeatable release builds.
A synchronization directory gives you a clearer boundary. The Windows side produces a known revision, and the Mac receives a defined workspace. This is easier to audit, but you must handle ignored files, generated files, line endings, executable permissions, and native binaries.
A CI workspace is the cleanest option for production builds. The runner checks out a revision on the Mac, installs or selects the expected tools, runs the build, and uploads the artifact. It avoids accidental dependence on a developer’s interactive state.
For the first project transfer:
- Copy or check out the source at a known revision.
- Transfer required project files, native dependencies, assets, and generation scripts.
- Recreate environment variables explicitly.
- Keep generated Xcode files under control according to project policy.
- Remove stale build output before the first clean build.
- Record the exact workspace and artifact locations.
- Avoid copying signing certificates through an unencrypted shared folder.
A clean build must test more than project generation. Verify the Xcode installation, selected SDK, native plugin compilation, target architecture, output directory, and packaging command. Save the complete build log. Record the first failing phase if the build stops.
05Build verification
The first successful compile is only an intermediate result.
Run a clean build on the remote Mac. Then inspect the resulting artifact rather than relying on the process exit status alone. Confirm that the expected application bundle exists, that its architecture matches the target, and that the output path is predictable for later CI upload.
Separate the build into observable stages:
- Dependency preparation.
- Project generation.
- Xcode compilation.
- Asset and resource processing.
- Application packaging.
- Signing.
- Artifact export.
- Optional notarization preparation.
This separation makes retries safer. If asset processing fails, there is no reason to rotate signing credentials. If signing fails, rebuilding the entire project may hide the actual problem.
Use xcodebuild or the project’s documented build wrapper only after confirming the installed Xcode command-line environment. Apple’s macOS development tools overview provides the official context for the Mac-side toolchain. Project-specific engine behavior still requires validation in your own repository.
What does the Mac Remote Development Tools version depend on?
The practical dependency is the supported combination of the remote Mac’s macOS version, the installed Xcode release, and the project’s SDK and plugin requirements. Check Apple’s current Xcode system requirements for the supported pairing. Then test the exact project, because an officially supported toolchain does not guarantee compatibility with every engine plugin or graphics feature.
06Debugging boundaries
Remote Mac debugging is useful, but it is not complete game acceptance.
The remote Mac can usually handle:
- Launching the macOS build.
- Attaching an Xcode debugger.
- Running command-line tests.
- Checking crash logs.
- Verifying file and entitlement behavior.
- Reproducing macOS-specific build and runtime failures.
- Running automated smoke tests.
The following areas need separate acceptance:
- Interactive graphics debugging.
- GPU capture and frame analysis.
- Input latency and controller behavior.
- Audio devices and microphone routing.
- External displays and unusual resolutions.
- Physical hardware access.
- Performance under the target player’s GPU conditions.
- Device-specific testing and release signing.
A remote desktop session can make UI debugging possible, but it does not automatically reproduce local display timing, GPU access, audio routing, or input behavior. Treat the remote Mac as an execution and build environment, not as proof that every player-facing condition has been tested.
Which debugging work still needs local or dedicated hardware?
Anything tied to physical input, local GPU behavior, audio devices, external displays, or a real target device should be tested locally or on a dedicated test node. Use the remote Mac for repeatable macOS execution and debugger access. Use the second environment for conditions that the remote session cannot observe reliably.
The same distinction applies to Apple distribution. A build that launches is not necessarily ready for release. Review Apple’s guidance for distribution-signed Mac code, code-signing services, and macOS notarization.
07CI integration
Once the interactive build works, convert the same commands into a CI job. Do not create a second undocumented build process.
The CI job should define:
- Source revision.
- Mac workspace path.
- Xcode selection.
- Dependency preparation.
- Clean-build behavior.
- Signing input.
- Artifact output.
- Log retention.
- Cleanup behavior.
- Failure notification.
Keep interactive debugging and unattended CI on separate accounts or at least separate permission scopes. An interactive developer may need a graphical session. A CI runner needs predictable environment variables, workspace cleanup, and restricted credentials.
Can Mac Remote Development Tools support CI packaging and signing?
They can support a workflow where Windows initiates or manages the project while a real Mac executes the build, signing, and artifact commands. The tool connection itself is not the CI system. You still need a runner, a non-interactive authentication path, protected signing assets, cleanup, artifact storage, and recovery rules.
Signing should happen on the Mac-side build path. Do not move private signing material into the Windows project directory merely to simplify automation. The official Notary API reference can help you evaluate an automated notarization flow after the local signing and packaging stages are stable.
08Recovery testing
A Mac node becomes a dependable build platform only after failure tests.
Run these checks before assigning release work to the node:
- Disconnect the Windows client during a harmless build.
- Reconnect and confirm whether the process state is known.
- Restart the Mac and verify that the required services return.
- Run a clean build after restart.
- Invalidate a test credential and confirm that failure is visible.
- Remove the workspace and repeat the build from a clean checkout.
- Repeat the same revision and compare artifact metadata.
- Confirm that failed jobs do not leave signing material behind.
- Verify that artifacts return to the expected destination.
Do not claim recovery quality from a single successful reconnect. Your acceptance record should contain the command, revision, workspace state, failure point, recovery action, and resulting artifact.
If you need a remote node for a project cycle, review the remote Mac rental options only after defining these acceptance tests. The right rental duration depends on build frequency, release timing, and whether the node is used for interactive work, CI, or both.
09Architecture choice
The decision is not simply Windows versus Mac. It is a choice between a single interactive node, a dedicated CI node, and a dual-track setup.
| Architecture | Best fit | Main advantage | Main risk | Acceptance focus |
|---|---|---|---|---|
| Windows plus one remote Mac | Small teams and occasional release builds | Lower operational overhead | Debugging and CI can compete for one session | Clean build, access isolation, restart recovery |
| Windows plus dedicated Mac CI node | Frequent automated builds | Repeatable unattended execution | Interactive debugging needs another path | Runner registration, signing, cleanup, artifact delivery |
| Windows plus remote Mac and local test device | Graphics-heavy or device-sensitive games | Separates build work from hardware validation | More coordination and test cost | Input, GPU, audio, device, and release checks |
| Local Mac plus remote Mac CI | Teams with regular local debugging | Fast interactive feedback and stable automation | Requires two Mac environments | Revision parity, signing scope, reproducibility |
Choose a single remote Mac when Mac work is occasional and one team can schedule interactive use. Choose a dedicated CI node when builds must run without a developer session. Choose the dual-track model when the project needs remote macOS compilation but also depends on local graphics, input, audio, or device validation.
10Release decision
How can you publish a macOS game from Windows if you do not own a Mac?
You still need access to a real Mac for the macOS SDK, Xcode, signing, packaging, and release checks. A remote Mac can provide that execution layer. Before publishing, validate the complete chain: clean checkout, build, signing, notarization preparation, artifact retrieval, launch test, and any required physical-device or graphics checks.
The current Windows-only approach has three concrete weaknesses: it cannot provide the native Xcode build environment by itself, it often leaves signing and packaging split across undocumented machines, and it gives you no reliable answer about macOS-specific runtime behavior. A virtual or improvised substitute can also introduce plugin, architecture, and graphics uncertainty.
A Windows workstation paired with a real remote Mac gives you a cleaner division: fast editing on Windows, native execution on macOS, and a repeatable path into CI. If Mac builds and debugging appear only during release cycles, rent a remote Mac for a project-period dual-track trial before buying hardware. If the node passes your clean-build, signing, artifact, graphics, and restart tests, you have evidence for a longer-term architecture rather than a guess based on connection success.
For a temporary build environment, you can start with a VpsMesh remote Mac node, then apply the same acceptance record to every future project.