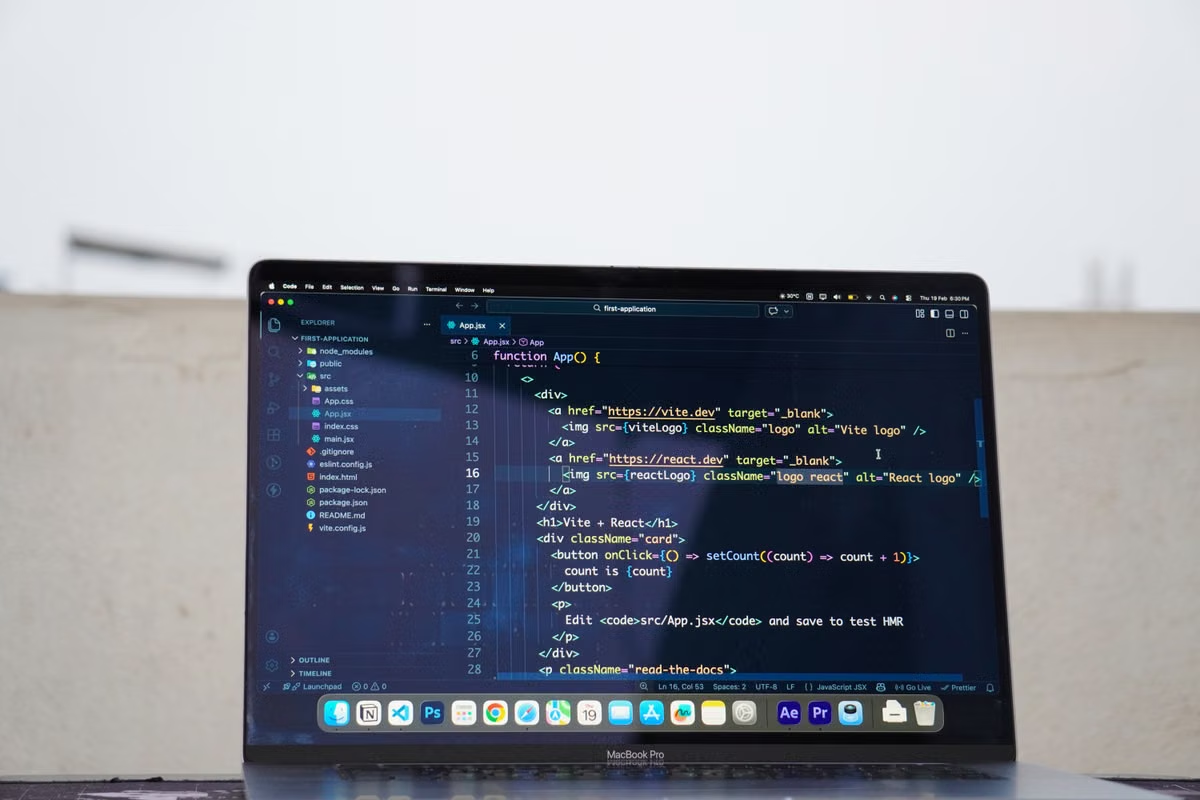
Your team has a Windows workflow, but the first iOS release is blocked by signing, Xcode setup, or an upload error.
The fastest decision is simple: use Xcode Cloud first when your project already has a clean remote Git workflow and needs repeatable automated builds; use a remote Mac first when you need interactive setup, troubleshooting, or a temporary release workstation. Most small overseas teams should run both: Xcode Cloud for routine builds, and a remote Mac for configuration, acceptance, and recovery.
This guide is for:
- Business teams that mainly use Windows and release iOS apps occasionally.
- Project owners who must control outsourced development and delivery.
- Internal teams with a regular release rhythm that want to automate repeated builds.
Xcode Cloud vs Remote Mac 2026: Start With the Actual Difference
Xcode Cloud is a build, test, and distribution service connected to your Apple development workflow. It is not a browser-based Mac desktop. Apple’s setup documentation requires a project, a source code repository, suitable Apple account access, and initial configuration before the service can build your app. See Apple’s official Xcode Cloud overview and the project setup requirements.
A remote Mac is different. It gives you an interactive macOS workspace. You can open Xcode, inspect certificates, pull source code, change settings, reproduce an error, prepare an archive, and review an upload process through a remote connection.
That difference changes the purchasing decision:
- Choose Xcode Cloud when the work is repetitive, the project is already organized, and automation has more value than manual access.
- Choose a remote Mac when a person must inspect the project, change Xcode settings, investigate signing, or complete an occasional release.
- Choose both when normal releases should be automated but a human still needs a dependable recovery path.
A remote Mac does not replace an Apple Developer membership, valid signing authority, App Store Connect access, platform review, or physical device acceptance. Xcode Cloud does not remove those requirements either.
02The first split: match the team structure to the release method
A Windows-led team with occasional releases
A Windows-first team often has a practical problem, not a CI/CD problem. CI/CD means an automated process that builds and tests code after a change. If the team releases infrequently, building a full automated pipeline before the first successful release can create more work than it removes.
A remote Mac can serve as a temporary release workstation for:
- Installing and opening the required Xcode environment.
- Pulling the approved source revision.
- Checking the project’s signing and bundle settings.
- Opening the shared Scheme, which defines what Xcode builds and how it builds it.
- Creating an archive and sending the build to App Store Connect.
- Capturing the exact error state for the developer or agency.
This is often the better first step when the team does not yet know whether the project can build cleanly outside the developer’s machine.
Before renting, confirm the required macOS and Xcode combination against Apple’s current Xcode system requirements. Do not select a machine based only on the word “Mac.” The operating system and Xcode range must fit the project.
An internal team with a stable Git workflow
An internal engineering team is a stronger candidate for Xcode Cloud when the project is stored in a supported remote source repository, dependencies are reproducible, the shared Scheme is committed correctly, and the signing model is understood.
The business value comes from repeatability:
- The same source branch can trigger the same build process.
- Automated tests can run without a person opening a desktop session.
- Test builds can move into a distribution workflow.
- Build history can help the team identify when a failure began.
Apple’s official Xcode Cloud documentation describes its role in building, testing, and distributing apps. It should therefore be evaluated as an automation layer, not as a replacement for every interactive task.
Keep a remote Mac available when the team still needs to:
- Debug a failure that only appears during interactive Xcode use.
- Inspect local project settings or certificates.
- Test a new dependency before updating the automated workflow.
- Compare the behavior of a release archive with the project’s expected configuration.
- Perform a manual recovery when a cloud workflow stops at setup, signing, or dependency resolution.
Do not make both systems build everything by default. That creates duplicate maintenance. Let Xcode Cloud handle the repeatable path and reserve the remote Mac for tasks that require direct inspection.
An outsourced project with a business-side owner
Outsourcing changes the main risk. The issue is not only whether the agency can produce an uploadable file. It is whether your team can reproduce, inspect, and recover the release after the contract or handoff changes.
You should divide delivery into four areas:
- Source: the exact repository, branch, tag, commit, dependency instructions, and build notes.
- Build environment: the Xcode and macOS requirements, Scheme name, configuration, scripts, and known limitations.
- Apple permissions: Apple Developer membership access, certificates, identifiers, provisioning, App Store Connect roles, and team ownership.
- Evidence: build logs, archive details, upload results, TestFlight status, and unresolved warnings.
Xcode Cloud is useful for standardized build records when the project is configured correctly. A remote Mac is useful when the business owner needs to watch the process, inspect the project, or reproduce a problem without waiting for an external developer.
Do not ask an agency to hand over only an upload file. That leaves you dependent on the agency for the next change. Do not share the Account Holder login as a shortcut. Review Apple’s official App Store Connect account and role guidance and assign the narrowest suitable permissions.
Can Xcode Cloud completely replace a Mac?
No. Xcode Cloud can replace some repetitive build and test work, but it cannot replace every interactive macOS task. A project may still need a Mac for initial configuration, certificate inspection, manual debugging, local archive checks, or an emergency change that has not yet been encoded into the cloud workflow.
It also cannot guarantee App Store approval, remove signing requirements, or substitute for testing on a real mobile device. Treat it as a managed build service, not as a remote desktop.
Can a Windows team launch an iOS app without buying a Mac?
Yes, a Windows-led team may avoid purchasing a physical Mac if its release process uses an appropriate cloud build service or a rented remote Mac. The right choice depends on how much interactive work is required.
If the project is already stable and automated, Xcode Cloud may cover routine builds. If the team is preparing its first release, dealing with an inherited project, or working with an outside developer, a remote Mac gives the business owner a visible workspace for configuration and recovery.
The requirement is not “buy hardware at any cost.” The requirement is access to a valid macOS and Apple release workflow with the correct accounts, signing permissions, source code, and acceptance process.
03Second step: test the release responsibility, not only the build button
A successful build is only one part of an iOS App Launch. Your team also needs to know who can change the project, who controls the Apple accounts, who approves the binary, and who responds when the upload fails.
Run this handoff process before selecting a long-term setup:
- Collect the source reference. Ask for the repository location, approved branch or commit, dependency instructions, and the exact Scheme used for release.
- Map Apple access. Record who controls the Apple Developer team, App Store Connect organization, certificates, identifiers, and distribution permissions.
- Confirm the build path. Decide whether the normal build runs in Xcode Cloud, on a remote Mac, or through both.
- Perform a clean checkout. Pull the approved source onto the selected environment instead of relying on an existing developer workspace.
- Open the project interactively. On a remote Mac, inspect signing settings, Scheme configuration, dependency resolution, and local warnings.
- Run the normal build. Record the source reference, build result, archive name, and any warnings that require business approval.
- Upload through the approved route. Apple documents the supported process for uploading builds to App Store Connect. Confirm who is allowed to perform this action.
- Verify the receiving side. Check that the build appears in App Store Connect, that the expected version and build information are visible, and that the assigned tester or review process can continue.
- Break the normal path deliberately. Test one controlled failure, such as an unavailable dependency, an expired credential, or a changed permission. The goal is to confirm who notices and who can recover.
- Write the recovery note. Include the last known-good source reference, required access, environment requirements, and the fallback workstation.
The exact error evidence matters. A screenshot of a failed archive, a timestamped build record, and the related source revision can save more time than a vague message such as “the cloud build failed.”
04Third step: separate routine automation from emergency repair
A continuous release team should not use the same standard for normal work and emergency work.
For a normal release, Xcode Cloud is attractive when the project can reliably perform the same sequence: retrieve source, resolve dependencies, build, test, and distribute. The more often this sequence repeats, the more valuable automation becomes.
Emergency repair is different. A hotfix may involve:
- A certificate or provisioning change.
- A dependency that no longer resolves.
- A script that behaves differently in the build environment.
- An App Store Connect permission change.
- A project setting that needs visual inspection.
- A build failure that requires a developer to compare local and cloud behavior.
A remote Mac provides the interactive fallback. It does not make the failure disappear. It gives an authorized person a place to inspect the project and prepare the next action.
Release warning: Do not call a dual-track workflow reliable until someone has completed both a normal release and a controlled recovery exercise. A remote Mac that has never been logged in, updated, connected to the repository, or tested with the required permissions is only a theoretical backup.
For teams using TestFlight or overseas market acceptance, separate build delivery from regional product validation. A build can upload successfully while the business still needs to verify localized metadata, account access, storefront behavior, and real-device behavior. Those checks belong to the appropriate App Store Connect and device-testing process, not automatically to Xcode Cloud or the remote Mac.
05What Xcode Cloud and a remote Mac each do well
Xcode Cloud is strongest when you need a repeatable path:
- Routine builds after approved source changes.
- Automated tests for a project with a stable structure.
- Centralized build history.
- Less dependence on one developer’s local machine.
- A defined route toward distribution.
Its weaknesses are equally important:
- Initial setup still requires project and account preparation.
- A cloud build does not provide a complete interactive macOS desktop.
- Debugging can be slower when the failure requires visual inspection.
- A change in source, dependency, signing, or permissions can stop the workflow.
- It cannot replace device acceptance or platform review.
A remote Mac is strongest when you need direct control:
- First-time project setup.
- Interactive Xcode inspection.
- Certificate and signing checks.
- Manual archive and upload work.
- Evidence collection for an outsourced handoff.
- A recovery workstation for a cloud build failure.
Its weaknesses include:
- Human steps remain part of the process.
- The team must document repeatable actions rather than relying on memory.
- A remote session does not automatically create build history or automated tests.
- It cannot bypass Apple account rules, signing authority, or review requirements.
- A temporary machine still needs a proper access and logout procedure.
For a Windows team, the remote Mac usually solves the first operational barrier. For a mature internal engineering team, Xcode Cloud usually solves the repeated-build burden. For a small team with mixed responsibilities, the dual-track model avoids forcing one tool to cover incompatible jobs.
06The decision table for procurement and trial approval
Use the following matrix before approving a long-term workflow. The recommendation is based on work type, not on a single price comparison.
| Decision dimension | Xcode Cloud first | Remote Mac first | Dual-track setup |
|---|---|---|---|
| Team profile | Internal developers with an organized project | Windows-led, occasional-release, or newly inherited project | Small team with both routine and manual work |
| Main need | Repeatable builds, tests, and distribution | Setup, inspection, upload, and troubleshooting | Automation plus a dependable recovery workstation |
| Source workflow | Stable remote Git repository | Source may need inspection or cleanup | Stable source for routine builds, interactive checkout for recovery |
| Human interaction | Low during normal builds | High during configuration and repair | Low for routine work, high only when needed |
| Outsourced delivery | Good for standardized build evidence | Good for acceptance and handoff control | Best when the business owner needs both records and visibility |
| Emergency response | Limited when failure needs desktop inspection | Strong for direct investigation | Strongest if access and setup were tested in advance |
| Main risk | Assuming automation replaces setup | Leaving every release as a manual procedure | Maintaining two paths without clear ownership |
| Recommended first action | Validate a clean automated build | Run a real project through a remote Mac | Complete one normal release and one recovery exercise |
Use the Xcode Cloud path first when your team can answer “yes” to all of these questions:
- Is the source repository complete and accessible?
- Is the release Scheme shared and documented?
- Are dependencies reproducible?
- Are Apple permissions assigned to the correct people?
- Can someone explain how a failed build will be investigated?
Use the remote Mac path first when any of these conditions apply:
- The team has no regular macOS workstation.
- The project was delivered by an outside developer.
- The first release still requires manual Xcode inspection.
- The team must capture visual evidence for approval.
- The build and upload process is not yet understood.
Use both when normal automation is valuable but a failed build would otherwise stop the business. Start with a real project rather than a sample project. A sample build proves very little about your certificates, dependencies, account roles, and release ownership.
07A remote Mac trial should answer five operational questions
If the decision points toward an interactive macOS workspace, define the trial around the actual release job. Review VpsMesh remote Mac pricing and configuration details before choosing a rental period, then record the result in your own acceptance document.
Your trial should confirm:
- Can an authorized person connect and reach the macOS desktop reliably?
- Can the approved source revision be pulled without using a developer’s private machine?
- Can the required Xcode project open with the expected Scheme and dependencies?
- Can the team create and upload a release build using its own Apple permissions?
- Can another authorized person resume the work after a disconnect or handoff?
For a US-facing operation, you can also review the US West remote Mac option and compare it with your team’s access needs. Do not treat geographic location as a substitute for Apple permissions or application eligibility. A US-based Mac can provide a practical overseas work environment, but it does not guarantee approval, account access, or storefront placement.
A good trial ends with written evidence:
- Source revision used.
- macOS and Xcode environment recorded.
- Person responsible for each permission.
- Build and upload result.
- Known warnings.
- Recovery owner.
- Conditions for returning the machine or ending the rental.
Final recommendation for overseas app teams
If you mainly use Windows and only release an iOS app occasionally, start with a remote Mac. It gives you a controllable workspace for Xcode setup, source inspection, signing review, archive creation, upload, and evidence collection without forcing you to buy hardware before the workload is clear.
If your internal team already has a clean repository, a shared Scheme, predictable dependencies, and repeated release work, start with Xcode Cloud. Keep a remote Mac for first-time configuration, interactive debugging, and recovery rather than rebuilding the entire process manually every time.
If an agency delivers the app, use Xcode Cloud for standardized build evidence when the project supports it, but keep ownership of the repository, Apple permissions, build instructions, and recovery path. A remote Mac is often the clearer acceptance tool because you can inspect the environment instead of receiving only an opaque upload file.
The common low-risk choice is dual-track: Xcode Cloud handles the routine build and test path; a remote Mac handles setup, acceptance, and exceptions. Your current alternative, such as relying only on a Windows workstation, creates a hard dependency on an agency or another person’s Mac, slows urgent fixes, and makes permission and signing failures harder to inspect. Building a full permanent Mac lab can also be wasteful when releases are irregular and the workload is still uncertain.
For a short project, temporary release workload, or trial of a new outsourced team, renting a remote Mac from VpsMesh can give you an interactive macOS workstation without committing to hardware ownership. Review the available configuration and rental terms, then validate one real build, one upload, and one recovery exercise before deciding whether the service belongs in your ongoing release plan.